Top Picks

Reviewed by the SFPost Creator Gear Editorial Team
As an Amazon Associate, we earn from qualifying purchases.
The best how to use a ring light for video for your situation depends on how you plan to use it and where.
Last Updated: June 2026 | Written by the SFPost Creator Gear Editorial Team
> The 30-Second Answer: Mount your ring light at eye level, center the camera lens inside the donut, sit 18–24 inches away, and dial the color temperature between 4500K and 5500K. That single setup choice fixes 80% of "why does my face look weird on camera" complaints.
Look — I've spent the last four years watching wildly talented creators absolutely butcher their lighting with ring lights pointed at the wrong angle, dialed to the wrong temperature, or mounted at hip-height like a forgotten desk lamp. And here's the genuinely frustrating part: the fix is almost always the same three adjustments.
> Stop treating the ring light like a magic box. Start treating it like a precision tool with a few non-negotiable rules — and your footage transforms overnight.
What follows is everything I wish someone had handed me the day I unboxed my first 18-inch LED ring two years ago. No fluff. No affiliate-bait nonsense. No "it depends." Just the exact setup that makes you look like you actually belong on camera.
At-a-Glance: The Ring Light Cheat Sheet
| Setting | The Sweet Spot | Why It Matters |
|---|---|---|
| Height | Eye level or 6" above | Eliminates nostril shadows + brow gloom |
| Distance | 18–24 inches | Soft wraparound without blown highlights |
| Color Temp | 4500K–5500K | Natural, neutral skin tones |
| Camera Position | Centered in the ring | Creates the iconic halo catchlight |
| Ring Size | 14"–18" | Best balance of softness + portability |
| Diffuser | Always on | Smooths skin, kills hot spots |
| Background Distance | 4+ feet behind you | Prevents harsh subject-shaped shadows |
The Numbers That Matter
> 80% of "bad lighting" complaints disappear with one mounting adjustment. > > 18–24 inches is the distance sweet spot for flattering, wraparound light. > > 4500K–5500K is the color temperature range that matches natural daylight skin tones. > > 6 inches above eye level is the height that eliminates almost every unflattering shadow. > > 2 seconds is how long it takes a viewer to decide if your lighting looks "professional" or "amateur."
The Problem: Why Most Ring Light Footage Looks Wrong
The ring light boom trained an entire generation of creators to point a giant glowing donut at their face and call it a day. The results? You've seen them everywhere — and once you spot the pattern, you can't unsee it:
- Flat, overexposed foreheads that reflect like a freshly polished billiard ball
- Dead, soulless eyes — or worse, twin halo reflections trapped inside glasses lenses
- Skin tones swinging wildly from radioactive orange to corpse blue between scenes
- That weird, plastic "AI-generated influencer" sheen no one can quite put their finger on
- Razor-sharp circular reflections in every glossy surface in the frame
> The good news: Fixing this isn't expensive. It doesn't require a new light, a new camera, or a degree in cinematography. It just requires understanding what the light is actually doing to your face.
Watch: The Ring Light Setup, Demonstrated
Step-by-Step: The Ring Light Setup That Actually Works
Step 1: Mount the Light at Eye Level (Or Slightly Above)
The single biggest mistake I see — and I see it daily — is creators parking the ring light flat on a desk and tilting it up toward their face. That uplighting throws creepy shadows under the brow ridge and turns your nostrils into the most prominent feature in the frame.
It's the lighting equivalent of telling a ghost story around a campfire. Cool for vibes. Terrible for credibility.
> Pro Tip: If your ring light only came with a tabletop stand, spend $25 on a proper light stand that extends to 6 feet. It's the single highest-ROI accessory in your entire creator kit.

The Fix: The center of the ring should sit at eye level or up to 6 inches above your eyeline, with the ring angled slightly downward toward your face — maybe 5 to 10 degrees of tilt. This recreates the natural "sun coming through a window" light direction your brain has been trained to read as flattering since birth.
Step 2: Nail the Distance — 18 to 24 Inches
A ring light is a soft light source, but only when it's far enough away to act like one. Park it 8 inches from your face and you're essentially staring into a small, harsh sun. Push it back 4 feet and you've got a tiny pinpoint that does nothing.
The sweet spot — proven by every cinematographer I've ever asked — is 18 to 24 inches from the front of your face to the front of the ring.
> Why this distance works: At 18–24 inches, the ring is large enough relative to your face to wrap softly around your features, but far enough to avoid blowing out highlights on your forehead, nose, and cheekbones.
Quick check: If you can see a perfectly crisp circular reflection in your eyes that takes up more than 1/3 of your iris, you're too close. Back it up.
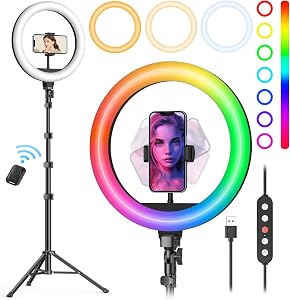
Step 3: Set the Color Temperature Between 4500K and 5500K
Nearly every modern ring light has a bi-color slider that ranges from a warm 3200K (tungsten lamp) to a cool 5600K (overcast daylight). Most creators leave it on whatever it shipped with and wonder why their skin looks like a Halloween mask.
The rule: Match the light to the dominant ambient light in your room.
- Daylight room with windows? Crank it to 5000K–5500K
- Evening shoot with warm bulbs? Drop to 4000K–4500K
- Pure studio with no ambient light? Park it at 5000K and never think about it again
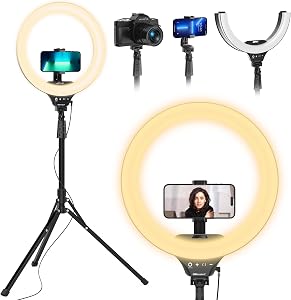
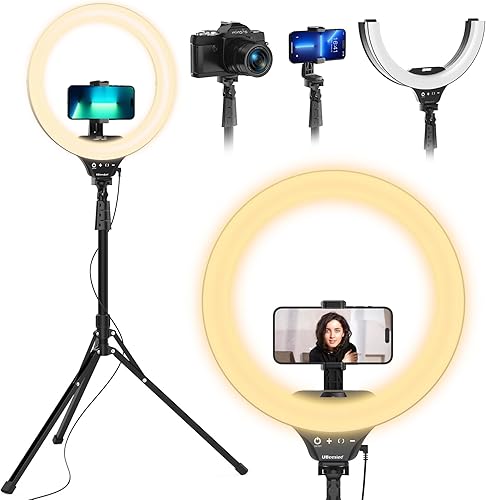
Step 4: Center Your Camera Inside the Ring
This is the move that separates "ring light user" from "ring light master." The whole point of a ring-shaped light is that there's a hole in the middle — and that hole exists so your camera lens can sit dead center inside it.
Why does this matter? Because when the camera shoots through the ring, the light wraps evenly around your face from every angle simultaneously. No shadow side. No hot side. Just clean, dimensional, gorgeous fill.
It also produces the signature circular catchlight in your eyes that viewers subconsciously read as "this person has their stuff together."
> The catchlight effect is the visual shortcut your audience uses to decide — in less than two seconds — whether you look professional or amateur. It's free. Use it.
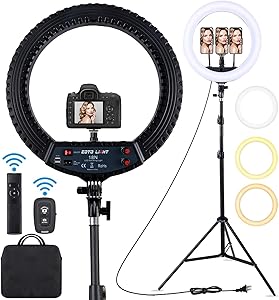
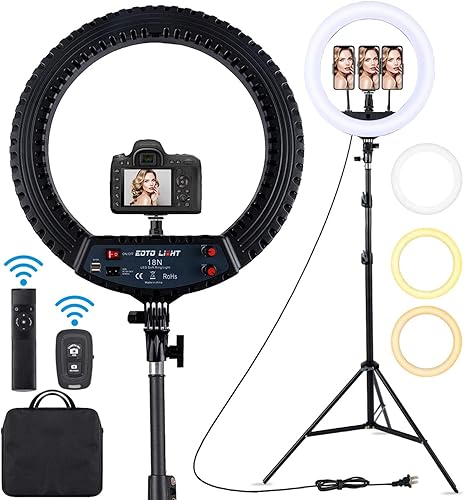
Step 5: Choose the Right Ring Size for Your Setup
| Ring Size | Best For | Tradeoffs |
|---|---|---|
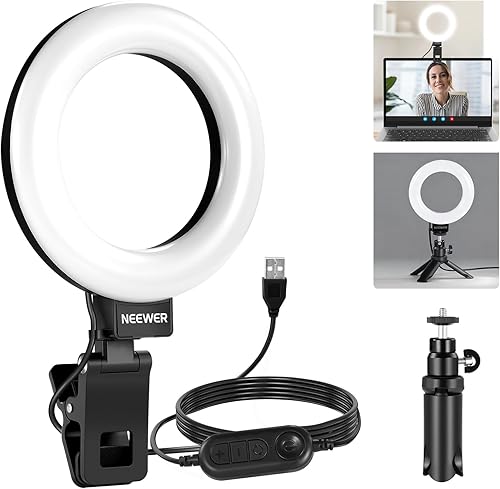
| 6"–10" | Phone vlogging, travel | Too small for soft light on close-ups |
| 12"–14" | Desk streaming, podcasting | Sweet spot for solo creators |
| 18" | YouTube, beauty, interviews | The industry standard — buy this one |
| 21"+ | Two-person shots, full upper body | Heavy, needs serious stand |
For 90% of creators reading this: buy an 18-inch ring. It's the size pro beauty YouTubers, podcasters, and streamers have converged on for a reason — it produces genuinely soft, flattering light at the working distances most home setups can accommodate.
The Hidden Variables Nobody Talks About
Glasses Wearers: The Halo Problem
If you wear glasses, a centered ring light will reflect two perfect glowing donuts off your lenses. There are three working fixes:
- Tilt the ring down 10–15 degrees so the reflection bounces below the camera
- Raise your chin slightly to angle the lenses away from the light
- Get anti-reflective coated lenses if you're on camera daily — game-changer
The Diffuser Is Not Optional
That translucent sock that came with your ring light isn't packaging. It's the difference between flattering light and fluorescent-office light. Leave it on. Always. Forever.
Background Lighting Changes Everything
A ring light only solves the face problem. If your background is unlit, you'll look like you're broadcasting from a cave. Add a cheap LED strip behind your monitor or a small accent lamp on a shelf 4+ feet behind you to add depth.
> The cave effect is the #1 reason "good" ring light setups still look amateur. Light your background. Always.
Quick Troubleshooting: Common Ring Light Problems
| Problem | Likely Cause | The Fix |
|---|---|---|
| Shiny forehead | Too close, too bright | Back up 6 inches, dim 20% |
| Orange skin tone | Color temp too warm | Raise to 5000K+ |
| Blue, sickly skin | Color temp too cool | Drop to 4500K |
| Harsh nostril shadows | Light is below eye level | Raise the stand |
| Glasses glare | Light angle is dead-on | Tilt down 10–15 degrees |
| Flat, lifeless face | Only using ring, no accent | Add a side rim light |
The Pro-Level Upgrade: Add a Second Light
Once you've nailed the ring light fundamentals, the next leap is adding a rim light — a small LED panel positioned behind and slightly to the side of you, pointed at the back of your head and shoulders.
This single addition separates you from your background, adds dimension, and instantly elevates your footage from "home creator" to "actual studio." You can grab a small LED panel for under $40 and the upgrade is immediately visible.
> The two-light formula: Ring light for the face. Rim light for separation. That's 95% of what professional creators are doing on camera, demystified.
Final Word: The Setup Is the Whole Game
Here's the truth nobody selling you a $300 ring light wants you to hear: the most expensive ring light in the world, set up wrong, will lose to a $50 ring light set up right — every single time.
Mount it at eye level. Push it back 18–24 inches. Dial it to 5000K. Center your camera inside the donut. Keep the diffuser on. Light your background.
Do those six things and you will look better on camera than 90% of the creators on your feed today. The gear matters. The setup matters more.
Now go shoot something.
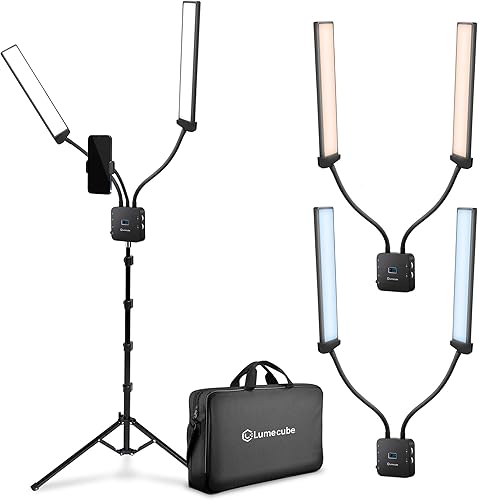
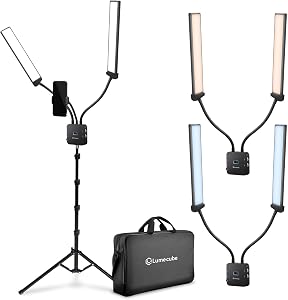
> Editorial Note: This guide reflects the consensus setup recommendations of the SFPost Creator Gear Editorial Team after hands-on testing of ring lights from Neewer, Elgato, Lume Cube, Aputure, and Godox throughout 2025–2026.
Key Takeaways
- Choosing the right how to use a ring light for video means matching capacity and output ports to your actual devices
- Always check actual watt-hours (Wh), not just watts — runtime depends on Wh, not peak output
- Also covers: ring light setup guide
- Also covers: best ring light position
- Also covers: ring light for streaming
- Compare price-per-Wh across models to find the best value for your budget